
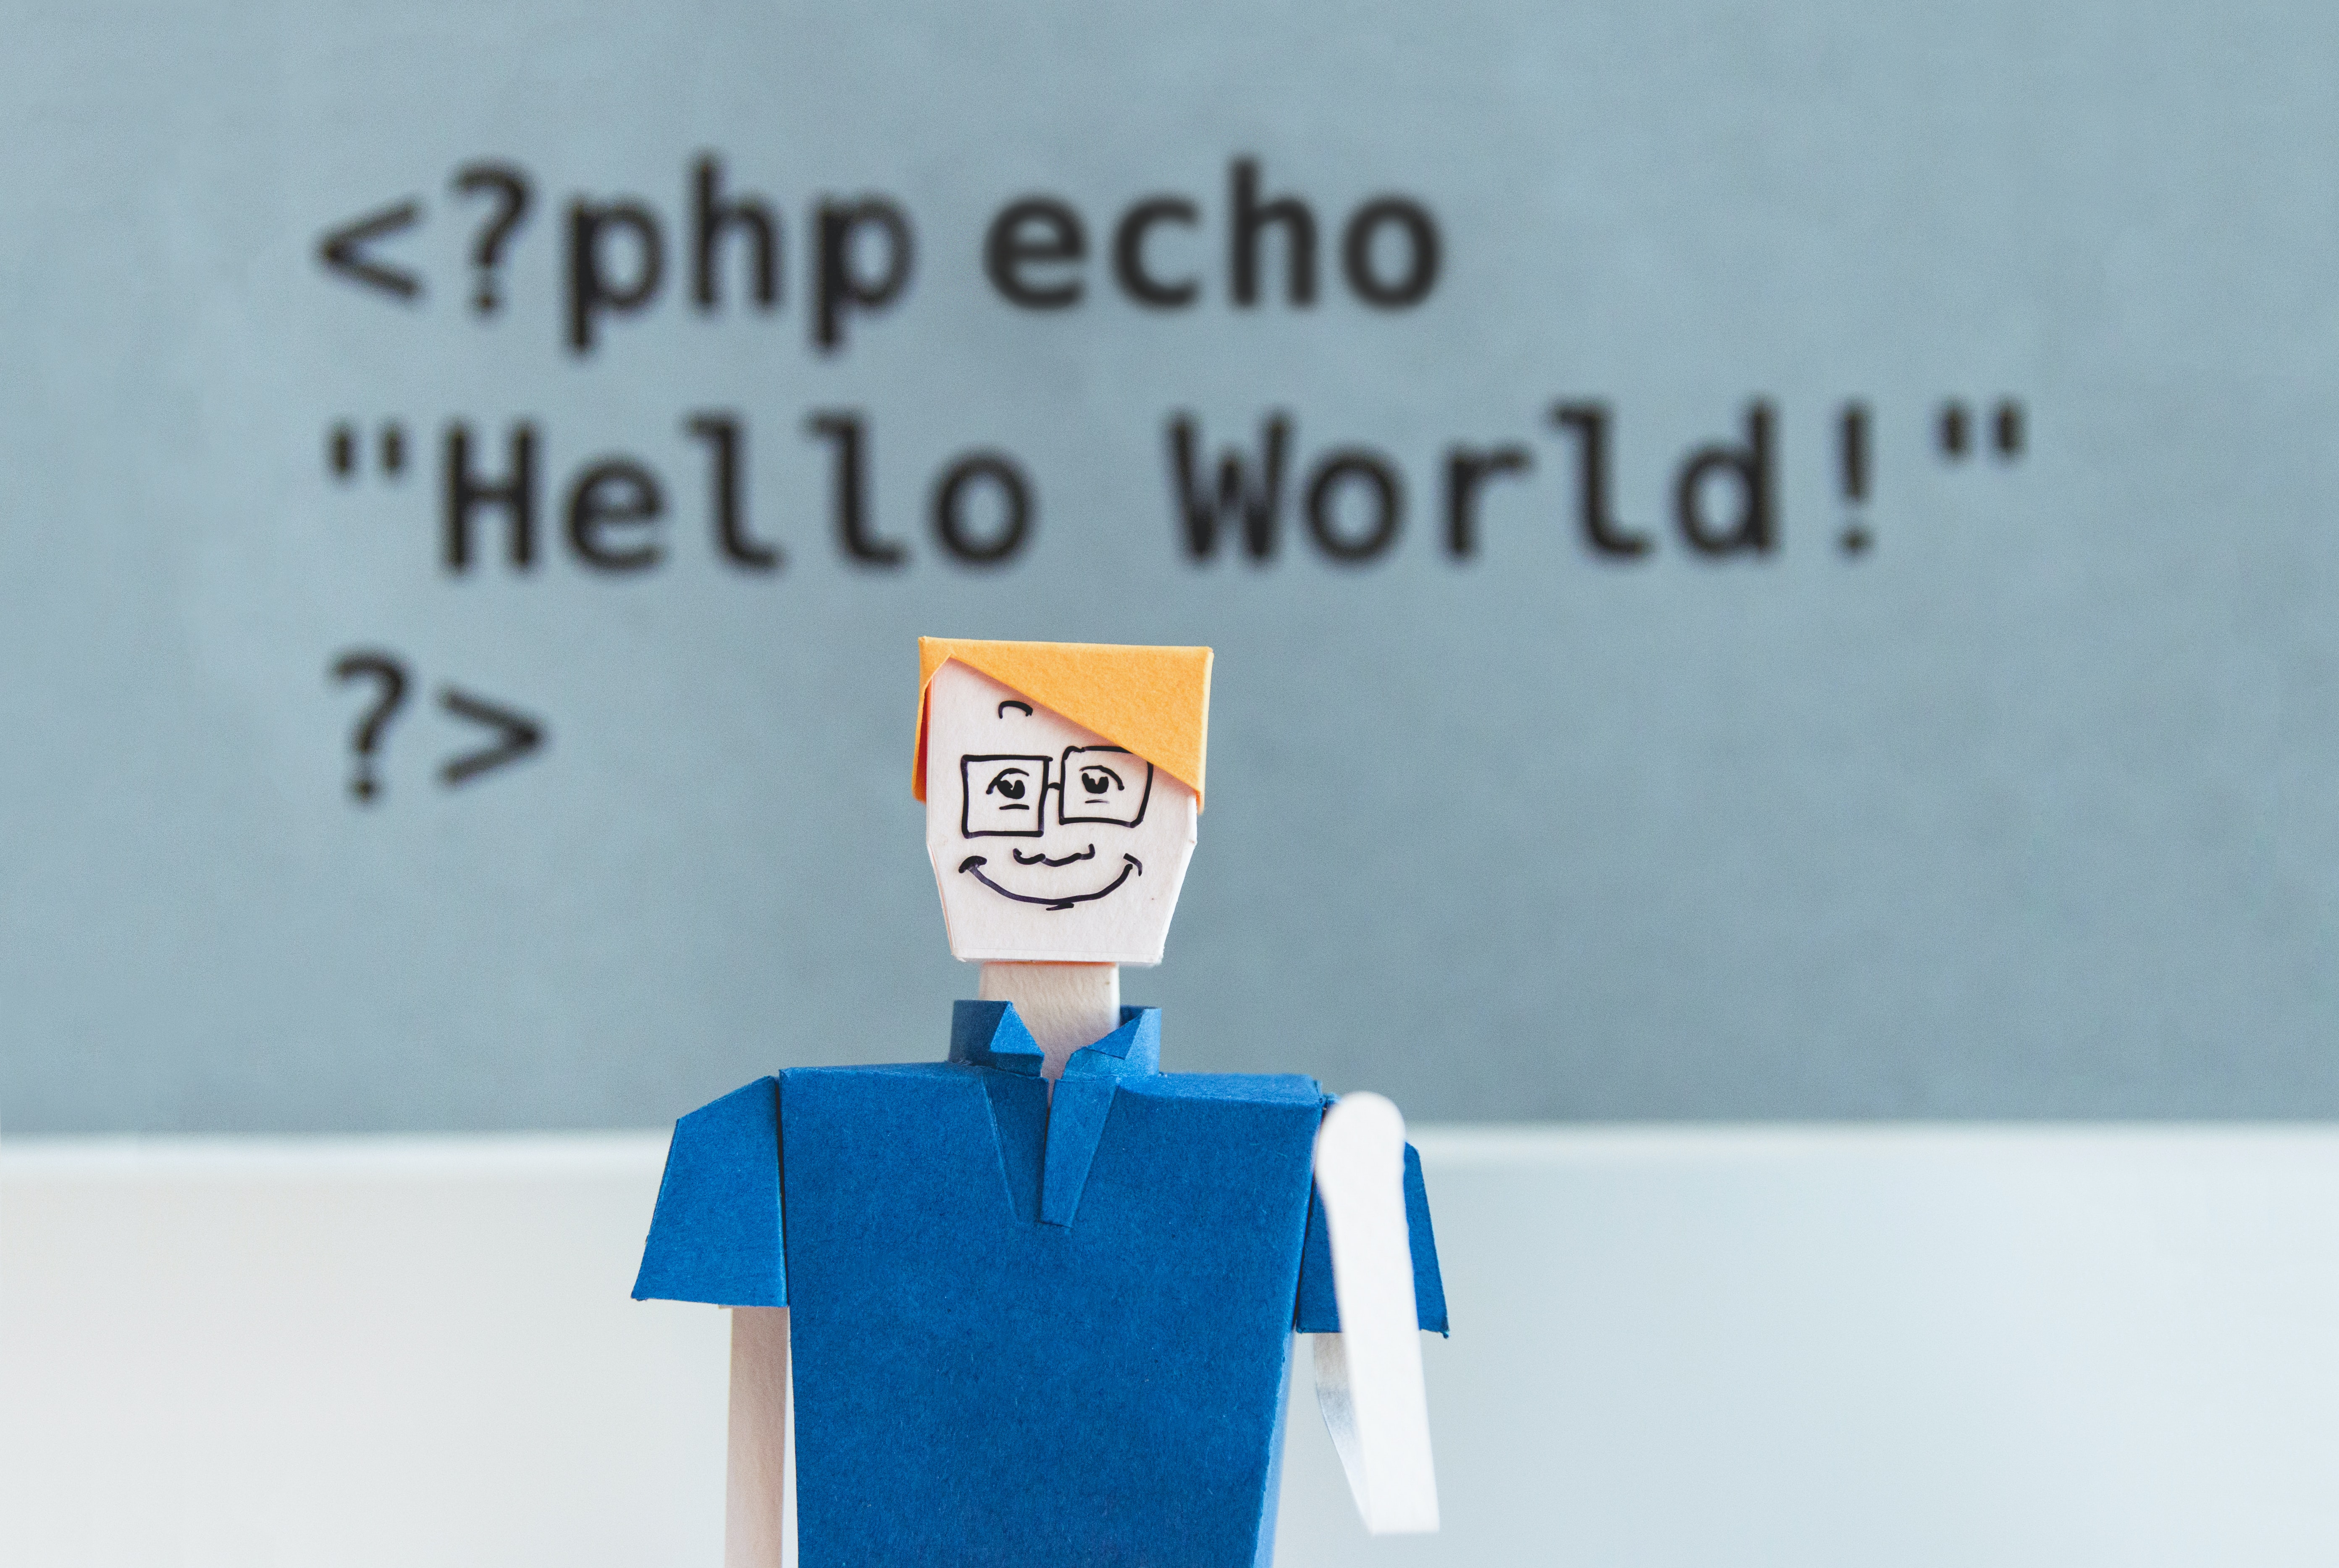
Hello reader, in this article I will explain my approach to deploy a chatbot in Python on the Messenger platform.
Genesis of the project
This idea to deploy a chatbot comes from different articles that I read on how non developer create a resume bot to assist them during their job search and have a vey nice digital and original front page.
One of the nicest example that I saw was the HireElibot.
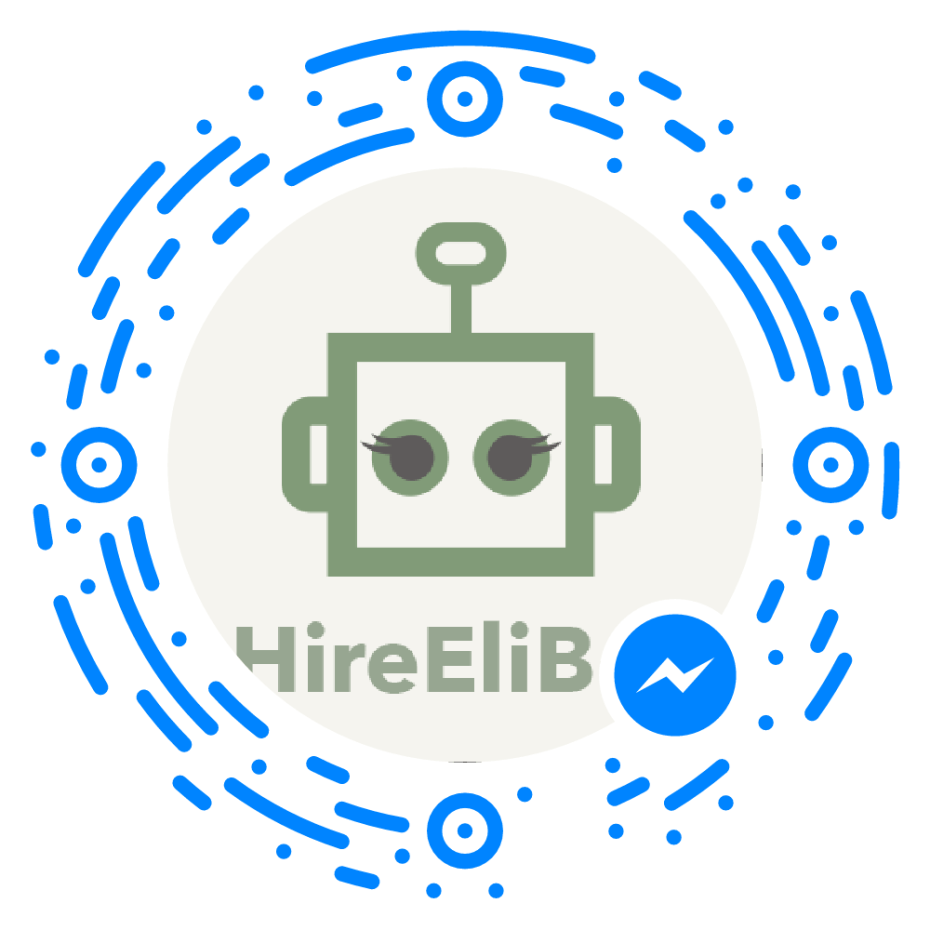
This chatbot that you can find on Messenger, is quite cool and I wanted to make one to assist me in my future job search (or at least a skeleton for a future chatbot).
I am definetly not a proper developer; but I am a coder (as a data scientist/maker can be) and a Python lover (a lot of colleagues try to push me to use node.js for this project but I refused) so I decided to try to make my own chatbot in Python.
I tried different approaches to complete this project that I am going to explain right now.
First approach : Telegram + Python
My first approach was to try to find how to deploy a chatbot in a platform and make it available on different devices.
My research leads me to the course of Gareth Dwyer on Codementor.
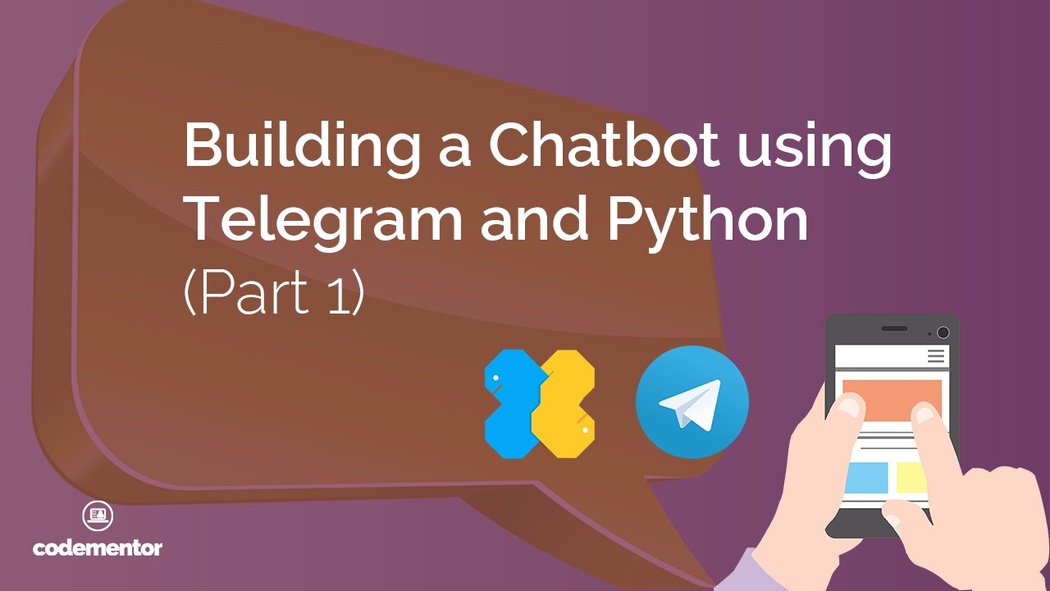
Opinion : The course is really good and it gives a nice overview of the usage of the Telegram api to make a very simple chatbot. I used this approach to create a weather chatbot that will use the Google maps api and the dark sky api, you can find in this Github repository the chatbot.
So I decided to use the Messenger platform and try to find the way to deploy the bot on a server or at least avoid the “dirty” while loop with a webhook approach.
Second approach : Messenger + Heroku + Python
In this part my research leads me to the blog of Hartley Brody and his post “Facebook Messenger Bot Tutorial: Step-by-Step Instructions for Building a Basic Facebook Chat Bot”.
The article and the code are very clear, but basically the idea is to deploy a Flask application that can receive the data send by the user (by the use of webhook) and answer in consequence at the interactions.
Opinion :The course is really clear and I am a Flask defender so that’s cool but the usage of Heroku in his free version is quite limited, I have to ping my Heroku app every 10 minutes to avoid that she fall asleep. I can pay to continue to use a proper Heroku application but I found the pricing quite high for just a chatbot.
Like most of my backend is stored in the Amazon Web Services services (dynamodb, RDS, S3), I try to find an approach that could help me to use the AWS structure and be not too expensive and I found the perfect solution for me.
My approach
My options on AWS to deploy the Flask application were:
- EC2 instance
- Elastic beanstalk
- Lambda
The two first options were still in the same range of price that Heroku and I found the Elastic beanstalk approach very restricted. So my choice went on the AWS Lambda service.
To deploy the Flask application on a lambda I have to find a dependency that permit that. Amazon has one it’s call Chalice.I tested this library for some other api projects, it’s good but I have to translate all my code from the Flask Framework to the Chalice framework so …
But my research leads me to a super alternative at chalice called Zappa and guess what : it’s working perfectly.
To deploy a Messenger chatbot in a AWS Lambda you can follow the following process (that you can find in this github repository).
Process
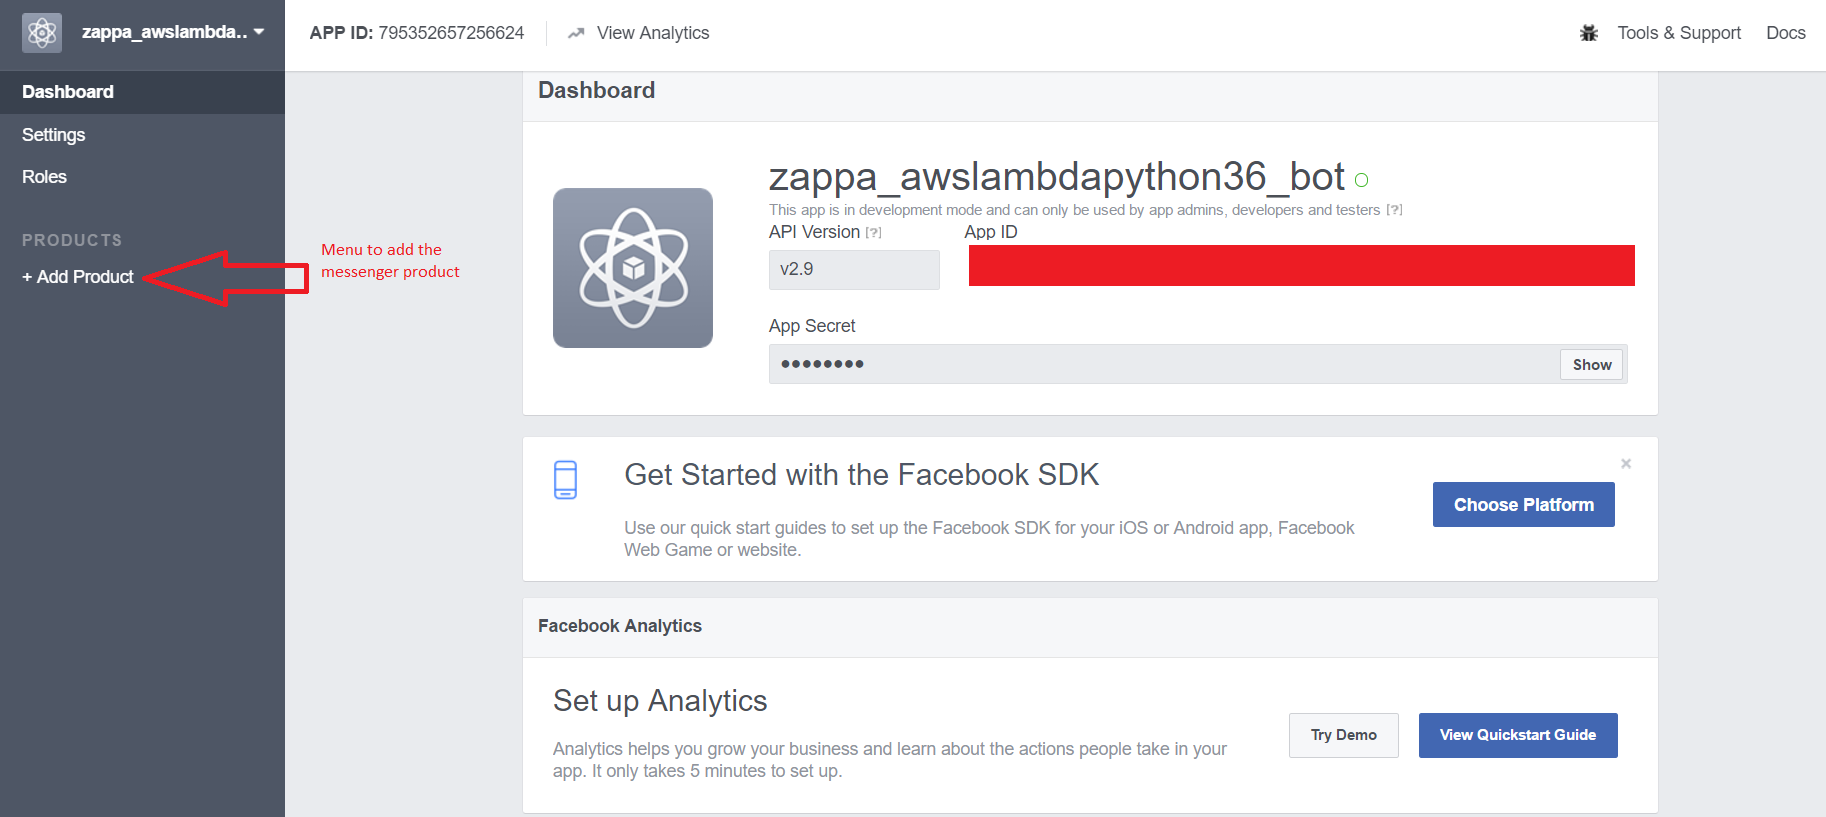
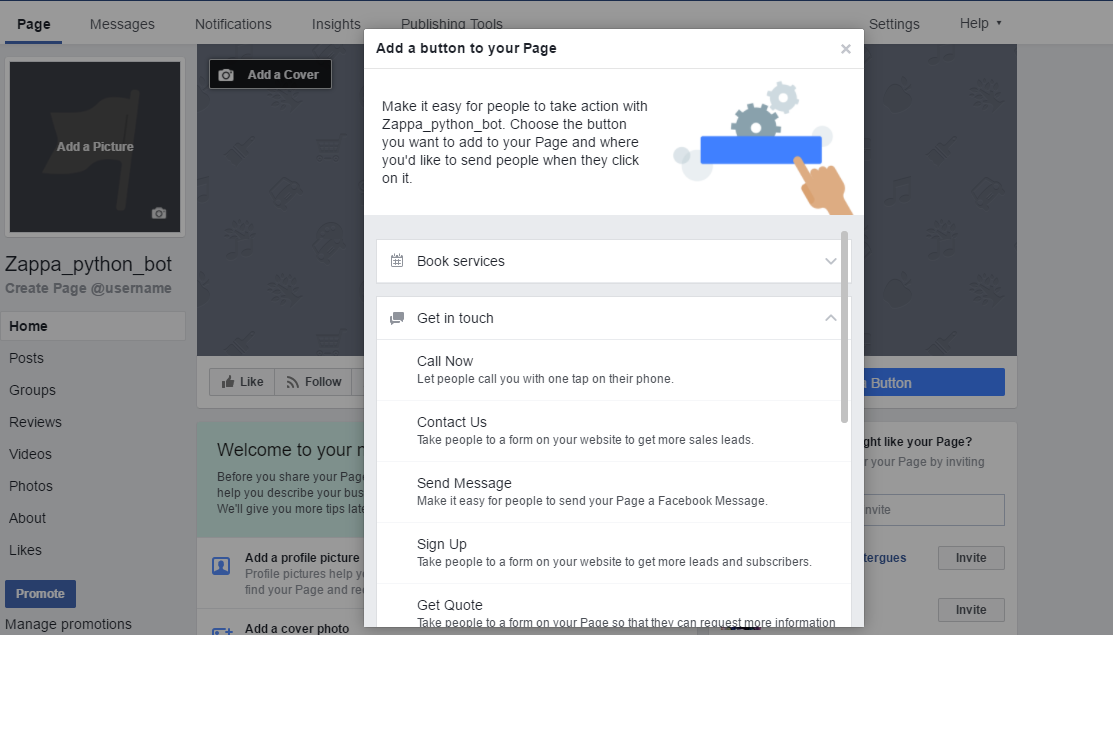
Step 1 : Setup a facebook application
- Setup a Facebook application in the developer portal
- Add a messenger product in the application
- Create a Facebook page - Add a “send message” button to the page
- Select the page that you have created (and accept the profile have access blah blah blah)
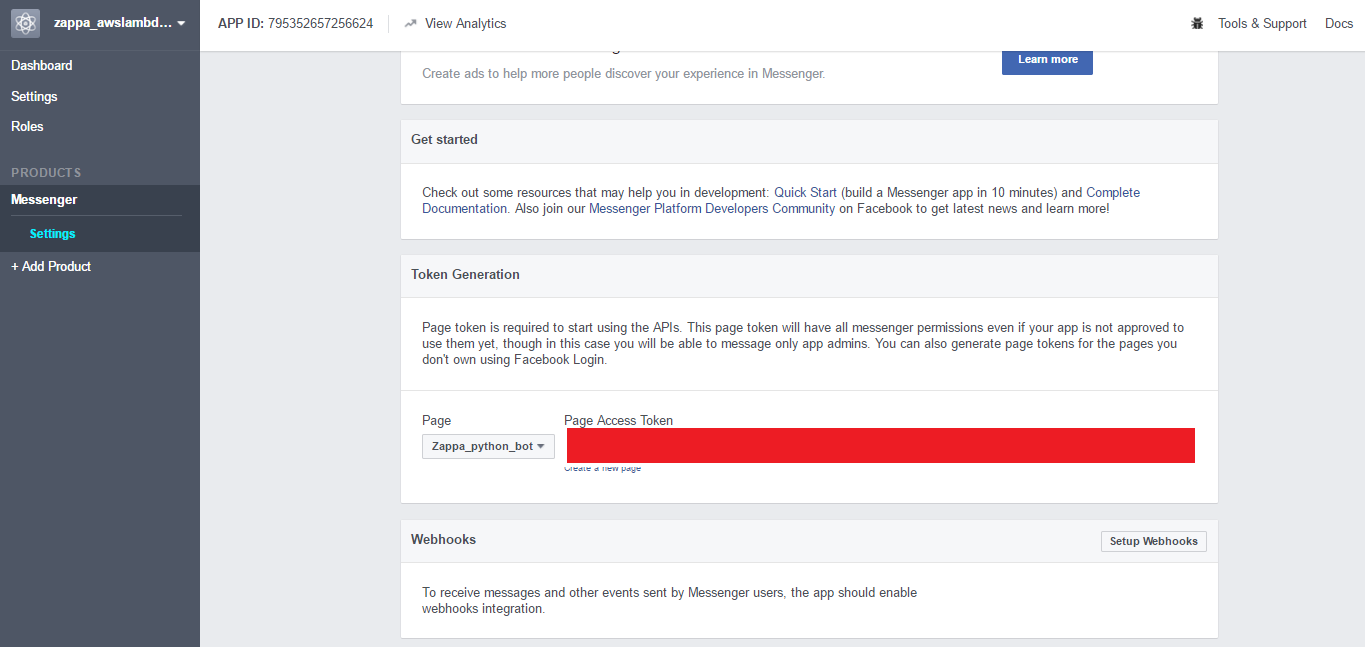
- Keep the access token that has been assigned for the application
Step 2 : Create your Flask application
- Create a virtual environment with the command virtualenv in my case zappa_env
- Activate the environment with
activate zappa_env - Install the dependencies
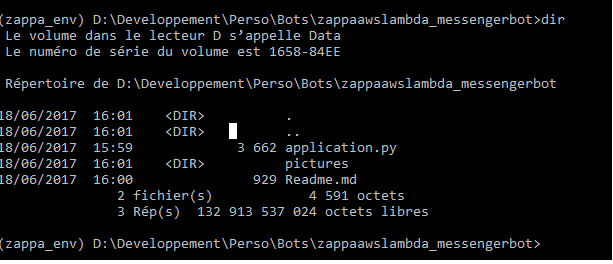
pip install zappa flask awscli - Clone the content of my repository in a separate folder of your environment
- Replace in the application.py file by the access token of your application the
access_token - Think to a ‘verify_token’
Step 3 : Deploy the application on AWS
- Use the command
zappa initin your project folder - In this tutorial you can accept the default parameter that zappa offer you to complete the process but if you want to add some specifications go for it
- Check if in your project folder there is a zappa_settings.json file
- Your application is now initialize so we can deploy the app with the command
zappa deploy dev - Let’s the deployment begin (chill out).
Step 4 : Finish to complete the Facebook application setup
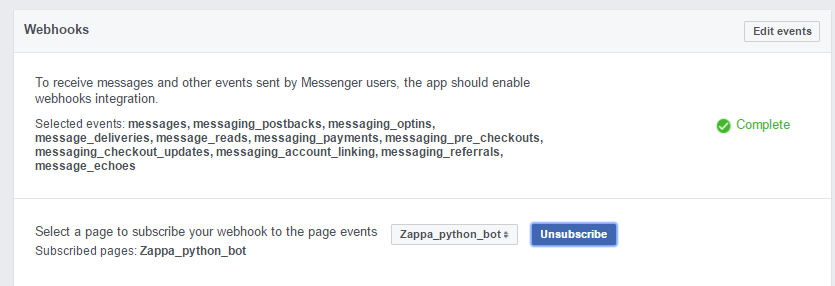
On the Messenger settings page you have to setup the webhooks
- Copy paste the url of your app on the callback url field
- Add the
verify_tokenthat you thinked before - Verify and save
- Subscribe the webhook to your Facebook page events
Step 5 : Update you application
- To finish you need to update the
verify_tokenvariable on the application.py files by the token that you create previously - Update the app with the command
zappa update dev
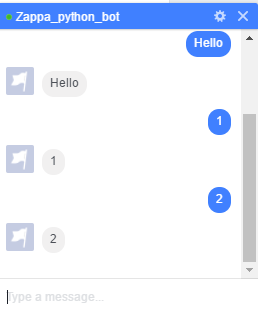
Step 6 : Test it
Feedback
So with this approach you can have a Messenger chatbot that you can deploy easily without a server with a very limited cost.
I hope that this article that present my approach to deploy a chatbot will help you and if you have any remarks on my works contact me.


